
Celeriac: The Other Root Vegetable

Baked Spiced Celeriac and Yam Fries
Photo by David Bishop

Celeriac Roots
Photo by David Bishop
Celeriac, or celery root, is a kind of celery in the parsley family. It is cultivated for its flavorful and nutritious qualities, and can be used as a substitute for white potatoes, though it stands well on its own. Celeriac has less than half the calories of mature white potatoes and delicious. The stems and leaves look very similar to the common celery which is often eaten raw, used in salads and in recipes. Celeriac leaves can also be used in the same ways but more but with caution, since their flavor is much stronger. I like to use the leaves for garnish, either chopped or whole, and often mixed with chives or scallions.
Celeriac differs from most root vegetables in that it is not very starchy.It is low in carbs and calories, low in saturated fat and cholesterol, and is known to lower blood cholesterol, lessen the risk of stroke, heart attack and obesity, and reduce irritable bowel syndrome. It is high in Vitamin C, Vitamin K, Phosphorus, Potassium, Dietary Fiber, Vitamin B6, Magnesium and Manganese. All of these qualities can greatly contribute to all over health and weight loss.
I have included four recipes and modes of preparing celeriac here for your pleasure and health, with the added benefit of beauty and style for entertainment.
Recipe for Baked Spiced Celeriac & Yam Fries Serves 4
Ingredients
1 medium celeriac root
1 medium yam – orange color for contrast
2 Tablespoons freshly squeezed lemon juice
¼ cup extra virgin olive oil
Turmeric to taste
Paprika to taste
Course sea salt to taste
Directions
Preheat oven to 375”F
Peel the yam with a vegetable peeler
Peel the celeriac bulb with a paring knife
Cut both root vegetables into large juliennes, about 3” X 1/2”
In a bowl, toss the celeriac juliennes with the lemon juice
Boil the celeriac juliennes for about 20 minutes and drain well
Boil the yams for a bout 15 minutes and drain well
Dry both root juliennes well and toss with just enough olive oil to coat the fries
Line 2 sheet pans with parchment paper
Lay the celeriac onto one pan, single file and the yams onto the other
Sprinkle the celeriac strips with turmeric and the yams with paprika, turning to cover all sides lightly.
Sprinkle all of the juliennes lightly with flaked sea salt on all sides
Bake in a the oven for 20 minutes, turning the fries over about 1/2 way through to brown all sides
Serve immediately

Herbed Celeriac Chips
Photo by David Bishop
Celeriac chips as a substitute for potato chips is a very smart choice in so many ways. First there is the calorie count. Raw, celeriac has 66 calories per cup while white potatoes have 142 calories per cup. Celeriac is high in both soluble and insoluble fiber, which is essential for not just colon health, but the all over health of the body, including diabetes reduction, lessening the threat of heart attach, stroke, obesity and irritable bowel syndrome. See http://www.webmd.com/diet/fiber-health-benefits-11/insoluble-soluble-fiber Dietary Fiber: Insoluble vs. Soluble
Recipe for Herbed Celeriac Chips Snacks for 2
Ingredients
2 quarts canola oil
2 small celeriac bulbs, peeled
¼ cup freshly minced flat parsley
Sprinkle grated Romano cheese to taste
Flaked sea salt to taste
Directions
Heat the canola oil in a fryer or a deep pot to 375”F.
Keep track of the temperature with a good insertion thermometer. If you are using a pot on your stove, keep a lid nearby in case a spill causes a fire in the oil. Putting a lid on the pot immediately will extinguish a flame.
Cut the peeled celeriac root in half to make it easier to shave
Shave the celeriac root with a vegetable peeler, or cut it very thinly with a really sharp knife
Fry the slices until they are golden brown on the edges, in small batches. Do not crowd the fryer
Drain the crisps on paper towel lined baking sheets
Sprinkle immediately with flaked sea salt
Sprinkle with minced parsley and grated Romano cheese if desired

Celeriac and Pear Soup with Pickled Red Onions
Photo by David Bishop
This Recipe for Celeriac and Pear Soup is delicious served hot, cold, or at room temperature, making it a truly versatile starter, snack or lunch. The pickled red onion adds a sweet, tart, salty zazz that punches the flavor level up to excellence, balancing and harmonizing with the celeriac, pears and shallots.
Recipes for Celeriac & Pear Soup with Pickled Red Onions Serves 2-4
Ingredients for Pickled Red Onions
1 small red onion, peeled and sliced very thinly
1 cup white grape juice
½ cup of red wine vinegar
¼ cup honey
½ teaspoon sea salt
¼ teaspoon mustard seeds
¼ teaspoon coriander seeds
¼ teaspoon celery seeds
Directions for Pickled Red Onions
Combine all ingredients in a quart size sauce pan
Boil for about five minutes
Remove the onions with a slotted spoon to a plate to allow to cool, laying them out as separately as possible
Ingredients for Celeriac & Pear Soup
1 quart of free-range chicken broth
2 medium celeriac bulbs, peeled and diced into one inch cubes
2 ripe pears diced into one-inch cubes (I used the Bartlett variety for their sweetness and golden blushed pink skin)
2 shallots, peeled and sliced thinly
¼ teaspoon freshly ground black pepper
¼ teaspoon ground nutmeg
Directions for Celeriac & Pear Soup
Boil the celeriac and seasonings in the chicken broth for about 15 minutes or until just tender to a fork and bite
Add in the pears and continue to lightly boil for another 5 minutes.
With a slotted spoon, remove about a cup of the solid pieces in the soup to a small bowl and reserve
Puree the remaining soup in a blender or with a stick hand blender
Add back into the soup, the reserved solid pieces and stir to incorporate
Serve into shallow soup bowls and garnish with Pickled Red Onions and chives
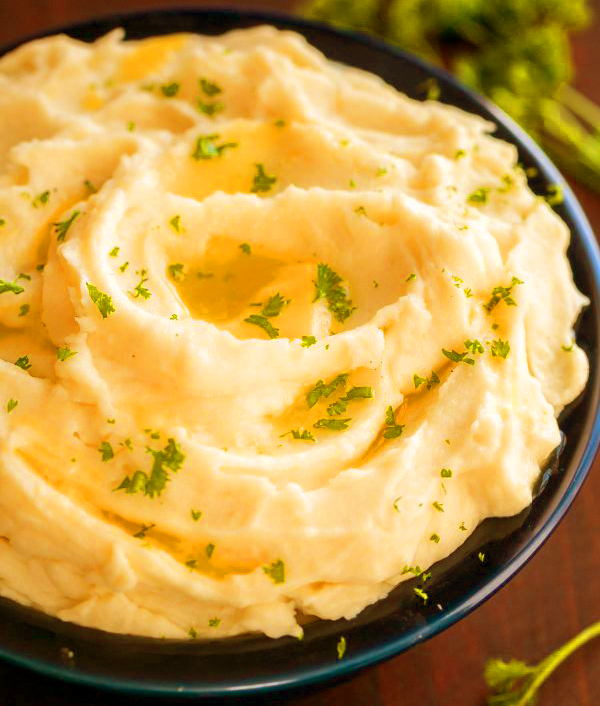
Mashed Celeriac and Carrots
Mashed Celeriac and Carrots Serves 4-6
Ingredients
2 quarts salted boiling water
4 medium bulbs of celeriac diced into one inch cubes
2 large carrots, chopped into one inch pieces
1 medium onion medium coarsely chopped
1 chopped shallot
1 tablespoon of extra virgin olive oil plus additional for garnish
¼ teaspoon turmeric
¼ teaspoon cayenne pepper
Sea Salt to taste
Directions
Boil all the ingredients until they are soft enough to mash.
Drain the cooked vegetables, reserving the liquid.
Mash the vegetables in a bowl with a hand masher or fork, adding back in the liquid as needed for your desired consistency.
Arrange the mash gracefully in a serving bowl. Drizzle with additional olive oil.
For more eye appeal, garnish with chopped scallions, sea salt flakes and dash of pepper.
Tip: Celeriac is also wonderful grated raw into salads. Have fun creating your own recipe renditions with this intriguing, delicious and healthful vegetable.
A Festive Fall Fare
Chicken Liver Paté with Caramelized Apples & Onions
Happy Hour with Style
If you think you don’t like chicken livers then you probably have not had them prepared well. When buying chicken livers, be sure to go for the freshest, firm, boldly colored lobes. I prefer local free-range farmed chickens from a reputable purveyor. Over cooking chicken livers turns them bitter, chalky, dry and rubbery, spoiling their naturally juicy sweet flavor. I use a blend of plu gras butter or Ghee, mixed with olive oil for the apple onion sauté and the liver sear. The oil/butter mix must be hot enough to make a brown sear while leaving the inside pink. Adding bit of freshly ground nutmeg and finely ground white pepper to the apples and onions while they sauté, adds an earthy aroma and depth of flavor to the mélange. After all of the ingredients are cooked to perfection, I add a generous dash of cognac to the processor to accompany the seared livers with the caramelized spiced apples and onions, using all of the buttery oil from the pan.
Plu gras literally means more fat. European butter has more fat than American butter. It is far better for baking and cooking than the American butter, which has considerably more water content. Ghee can be purchased or made by reducing butter as directed by experts.
For my recipe:
Paté Ingredients
I pint of fresh plump chicken livers, trimmed of any stringy white bits
1 cup of Vidalia onions, shallots or whatever onions you have on hand - chopped
1 half of a Fuji, Gala, Braeburn, or Honey Crisp apple – chopped
1 tablespoon of olive oil
1 tablespoon of plu gras butter or Ghee
¼ teaspoon of ground nutmeg
¼ teaspoon of finely ground white pepper
2 ounces cognac of French brandy
Salt to taste
2 Tablespoon of plu gras butter or Ghee for sealing the paté – melted
Paté Directions
Trim the liver pieces of any white stringy bits. Cut the lobes into evenly sized pieces for even cooking.
In a large skillet on medium low heat, slowly sauté the onions and apples with the oil and butter and a pinch of salt. About 15 minutes.
Remove the apples and onions with a slotted spoon, leaving behind as much of the oil and butter as possible. Add them to the food processor bowl.
Turn the heat up to medium high heat to sear the livers.
Add the pan contents of livers and fat, along with the cognac, to the apple onion mix in the processor.
Pulse the ingredients, scraping down the bowl occasionally.
Finish processing the mixture until puréed.
Taste the mixture for seasoning, adding more salt, pepper or nutmeg if needed. Give the mix another whirr if you have adjusted the seasoning.
In a small saucepan, melt the 2 tablespoons of butter for sealing the paté.
Pour half of the melted butter into the bottom of a 32 ounce loaf pan, or split it up into smaller containers.
Spoon the paté over the butter. Level the paté.
Evenly cover the paté with the other half of the melted butter, sealing it to preserve the color and flavor.
Food Styling Tip: When I approached this shoot I was showcasing my newest paté recipe. Because of the caramelized apple inclusion in this version, I decided on the fruit and bread crisps to underline and augment the visual flavors. The presentation is my vision of how I would serve it to honored and beloved guests. The table cloth and dish choices were an instinctive decision based on the predominant colors of the fruit and flavors. The bread texture and color seemed to work naturally with the scheme of the whole. The bottle of honey and Mandarine orange are accent touches for balance and interest.

Secrets of a Food Stylist
The Art of Making Beautiful Food


INSTAGRAM
@MarilindaFoodStylist


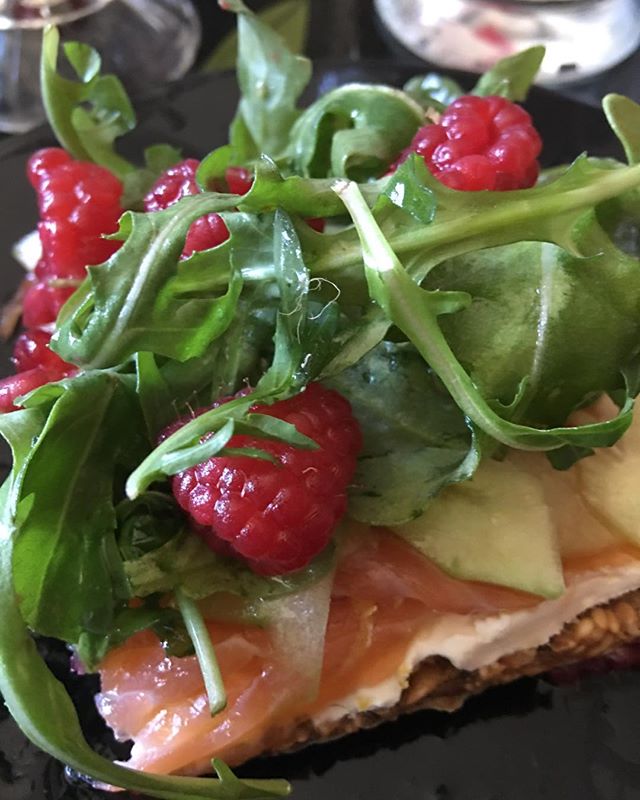


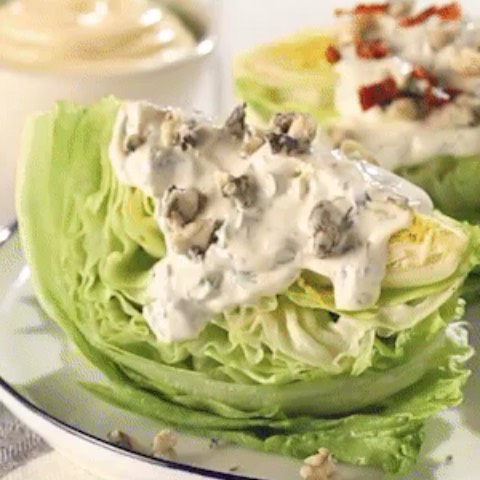
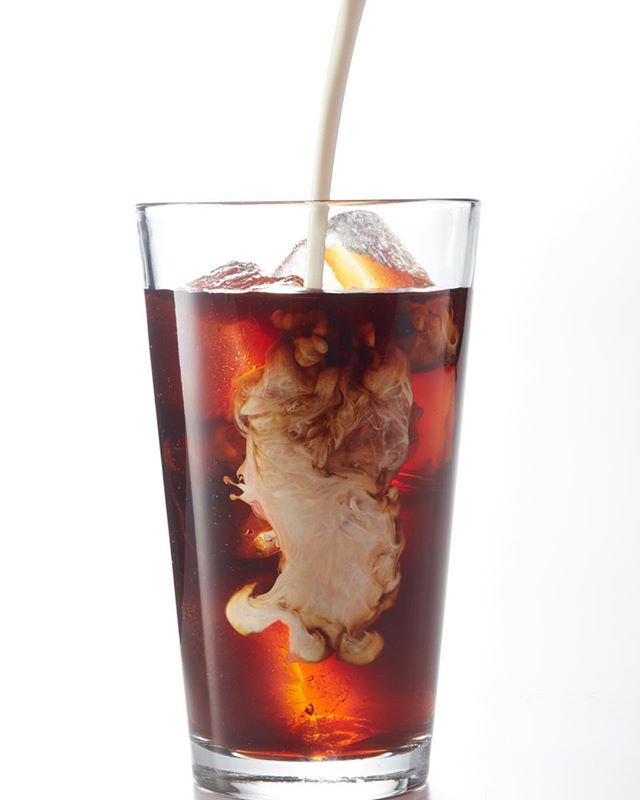
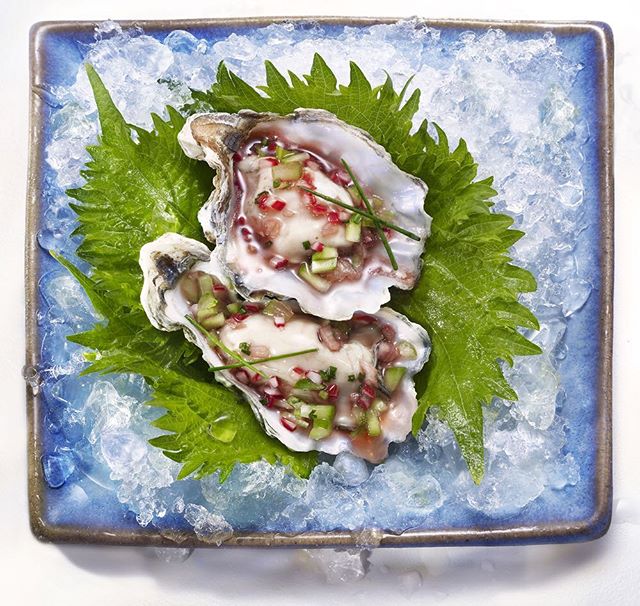
@TWITTER
@MarilindasFood
COMMERCIALS: